 (2).png)
Thanks for your interest in Airloom. Below Is some information on how vinyl is installed.
The points made below are generalisations and because each home is different, we advise a site inspection from a professional in your area. There are general quality checks you can make before, during and after the installation, but bare in mind installers have their own methods which may not be described here.
We have discussed more about vinyl and its properties here
Introduction
When vinyl is installed, one should remember that it has two characteristics: it is thin; and it is not rigid. Taken together, these two factors mean that when one installs vinyl, the surface below the vinyl (the sub-floor) is very important.
How important, is, to a degree, dependent on the type of vinyl.
Vinyl sheeting, which is softer and therefore better able to manage inconsistencies in the sub-floor, requires a less stringent approach than required for vinyl planks.
Because vinyl planks are harder, the requirements are quite a lot more stringent.
WHAT IS A SUB FLOOR
Generally, homes have 2 existing sub-floor types
- An existing screed or cement-based sub-floor
- Timber - both as a finished floor and when timber is used more functionally, for example a loft or mezzanine
If your home has an existing floor (e.g tiles, carpets, etc.), this floor will be installed either on a cement - or - timber base. This base is what is referred to as the sub-floor.
For a vinyl installation, the ideal base is a dry cement subfloor.
Only vinyl sheeting with a textile-back can potentially (depending on the state of the timber) be installed on a timber subfloor.
DO I NEED TO REMOVE MY EXISTING FLOOR?
This may vary depending on the product.
For vinyl planks…
If your home does have an existing floor, in all instances except for certain types of tiles, this existing floor must be removed. This includes carpet, laminate, existing vinyl flooring.
If you have tiles, this needs to be accurately assessed by a professional. It is possible to install over tiles, but there are risks.
For vinyl sheeting…
Carpet and laminate definitely need to be removed, but existing vinyl flooring and tiles can often be left in place. If tiles are left in place a screed is still necessary to remove grout lines in the tile installation.
Whatever the type of vinyl, the success of a vinyl installation depends on three factors:
- Sub-Floor Preparation & moisture management
- Adhesive
- The installation method & quality
Here's a video that gives you some insight into Airloom's EasyFit and EasyFit+ vinyl sheeting:
PREPARATION
As with most things, Preparation is the most important element of your vinyl installation. At the end of the preparation, you need to leave a level, smooth surface of the right porosity to absorb and hold the glue effectively.
This is achieved by using a screed as a ‘topping’ (a few mm. thick top layer applied to the existing sub-floor). The screed should be specifically for flooring and have self-leveling properties (in other words not just a bag of cement!)
For vinyl plank we always recommend a ‘poured’ self-leveled screed. This is a product that will level itself; the installer just has to push it into the right areas on the floor. The leveling happens as a result of chemical reactions in the screed rather than via manual application
A “hand-trowelled” screed is different from the above in that it requires somebody to trowel it level. Although cheaper than a “poured self-leveled” screed, the working finish is inferior. A hand-trowelled screed should only be considered for a vinyl sheeting product.

MOISTURE MANAGEMENT
Should an installation fail, it is very often due to moisture. Simple checks via a moisture meter can reduce this risk.
With both types of screed, the installer should allow sufficient time for the screed to dry. The correct procedure for an installer to follow is to measure the moisture of the subfloor before and after applying the screed. The screed should dry to a suitable moisture content before the application of the product.
The moisture test prior to application of the screed should be done to ensure there aren;t any latent moisture issues in the home prior to commencement of the job.
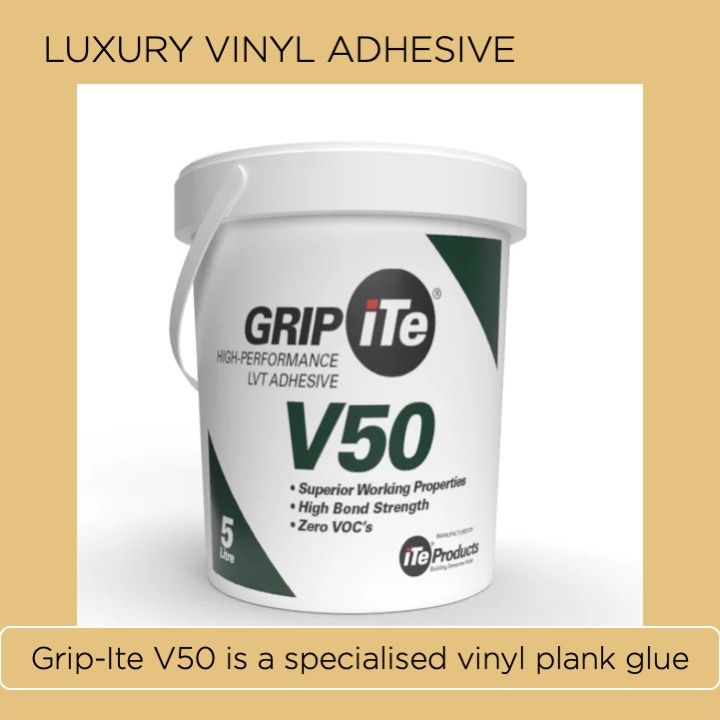
ADHESIVE
Once the topping has been installed and been allowed to dry sufficiently, the installer should use the correct Adhesive. The correct adhesive is specific to the type of product (i.e. vinyl sheeting vs vinyl plank).
For vinyl planks, the correct adhesive is a water-based adhesive which dries hard and fast. Companies like Qualichem and Tec-Chem are the preferred suppliers of this type of adhesive in South Africa.
For vinyl sheeting, a more generalised all-purpose floor adhesive can be used from the same manufacturers.
While some installers do use a solvent-based adhesive effectively, we don’t recommend this.
INSTALLATION METHOD
The final piece of the puzzle is the Installation Method.
For vinyl planks, there are two parts to this: firstly, the installer should prep the layout, often by using chalk lines. This is to ensure that the installation fits the shape of the room neatly and is mindful of doorways, and room flow.
Secondly, when using the correct adhesive, the installer should be working in a systematic way, in small areas. The installer will trowel the adhesive onto the floor, apply the product and then roll the planks with a 68kg flooring roller. If the area to which glue is applied is too large, the glue will dry; if the roller is not applied soon after installation, transfer of the adhesive is less likely to be successful.
For vinyl sheeting, the layout of the product becomes vitally important, especially if there are joins required. The installer should plan carefully prior to installation.
